
Step-by-Step Guide to Making an Easy Envelope Pillow Case — 💗
- SunRae Designs
- Mar 28, 2024
- 3 min read

Updated: Oct 8, 2024

Welcome all to this easy addition to your home decor. The envelope pillow! It's so fun and takes very little time to make. You can add your own style in no time. It can also be embellished with applique, embroidery, pipping, or sentimental fabrics. That's what I did. I used my Granny's blouses and fabrics and followed my Free Shamrock of Love Quilt Block Pattern using the 16½" block. I Longarm quilted it with the Wobble Panto by Red Willow Quilts for that final touch. It now can add a lovely touch to my daughter's room for as long as she likes! 😄
Let's Get Started!!
💗Read Through All Instructions Before Starting💗
Step 1: Figure out the Size of Your Pillow Top, Envelope Backs and Cut your Fabric
The size of your pillow top will be one inch larger than your pillow form. I used my 16½" x 16½" Shamrock of Love Quilt Block and purchased a 15½" square pillow form.


Now that you have your pillow top measurement cut your fabric to the correct size. For this tutorial, I am using a 16½" x 16½" square. Now, it's time to make your two envelope backs.
Take the width of your pillow top measurement, add six, and divide that by 2. Easy Peasy.
Ex: 16½" + 6 = 22½" / 2 = 11¼"
Cut: (2) 11¼" x 16½" pieces
Note: Your pillow's length will always be the same as your fabric's length.
Ex: If your pillow form were 16½" x 5½", you would cut (2) 11¼" x 5½".
Step 2: Make Your Envelope Backs
With the wrong side of your fabric up, fold over the long edge or the fabric length ¾" and press. Fold again ¾" and press. Pin in place or use wonder clips. Do this for both pieces.
I used faux fur, so I did not press.


Edge stitch close along the left side fold on both pieces.


Step 3: Assemble the Pillow
Place the right envelope piece on top of the pillow top with right sides together, aligning the raw edges.

Do the same with the left envelope piece and pin or wonder clip around the perimeter.

Using a ½" seam allowance, stitch around all four edges.

As you come to a corner, stop ½" from the bottom edge. With your needle down, pivot your fabric to start sewing down the next edge. If your presser foot is aligned with the raw edge of your fabric, you know you are the correct ½" seam allowance.


If you don't want to guesstimate your ½" seam allowance, align the ½" measurement line on your ruler along the raw edge of your fabric and mark the ½" seam allowance with a pin.


Stop sewing when you come to the pin. Remove the pin, pivot your fabric, and continue sewing.

Note: If your fabric starts to stretch past your pillow top edge. Trim the excess and continue.


When you get back to the beginning stitches, stitch over them, backstitch a few times, and cut your thread. You are done sewing!


Note: I also backstitch where the envelope pieces overlap.


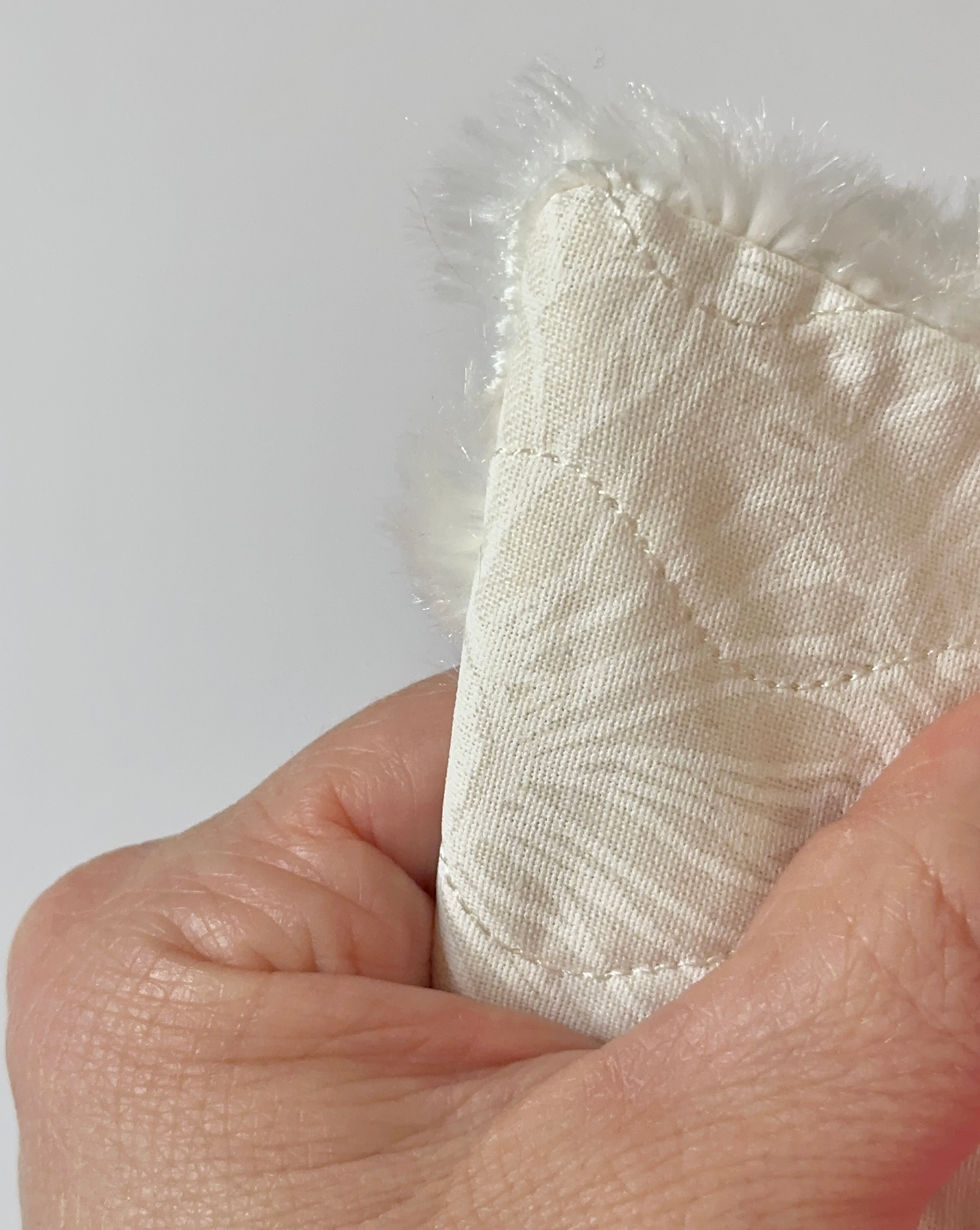
Step 4: Clip Corners and Turn Right Side Out


Step 5: Make Those Corners Pointy and Stuff That Pillow
I use a Dritz Point Turner to poke out my corners, but you can use anything with a blunt point. Do not use an object with a sharp point. You will go through your fabric and run the risk of ripping your beautiful work.
Using your tool, go through the envelope opening to each corner and gently push the fabric up with your tool while you gently pull the fabric down.


Oh yeah, baby. That's one pretty point 💗
Stuff that pillow into its beautiful case.

And voilà, your envelope pillow is done, and it's time to run around and celebrate!!!


I hope this tutorial encourages you to have fun with the Envelope Pillow Case. It truly is a simple project that can add personality to your home all year long.
Happy Quilting,
Amber Foret


Comments