How to Make and Attach a Single-Fold Binding
- SunRae Designs
- Dec 12, 2024
- 8 min read

There are many ways to bind a quilt, and I love all of them, but my preference is to bind by machine, using a single-fold continuous strip of binding and attaching it with a straight stitch. In this step-by-step tutorial, I will show you my favorite way to bind.
🧡Read Through All Instructions Before Starting🧡
*Note: All colored words are links!
Step 1: Determine Your Biding Width
Deciding your binding width is a personal, aesthetic, and functional choice. I have used multiple widths and double-fold binding strips throughout my quilting years, and I have finally found my go-to size—a single-fold strip cut at a 2.25” width. Then, I attach it to the front of my quilt at ⅜” seam allowance and stitch it to the back using my stitch in a ditch foot from the quilt top. The most common binding size is 2.5” using a double-fold strip and attaching it to the quilt top at ¼” seam allowance. I plan on writing an in-depth tutorial about binding, but for now, I will focus on my preferred method.

Step 2: Determine How Much Binding is Needed
Measure the Perimeter of your quilt.
Width + Length (2) = Quilt Perimeter + 10" for Seam Allowance
Ex: 60 + 60 = 120 (2) = 240" + 10" = 250" of fabric needed around your quilt’s perimeter.
Calculate How Many Strips Needed
Quilt Perimeter ÷ Width of Fabric
Ex: 250” ÷ 42” = 5.95 round-up = 6 binding strips needed.
How Much Fabric Needed
The number of strips is multiplied by the width of the binding.
Ex: 6 strips x 2.25” = 13.5”, meaning 42” x 13.5” of fabric yardage is needed.
*Note: When purchasing fabric, it is usually sold in fractions of a yard, such as:
¼ yard (9 inches)
⅓ yard (12 inches)
½ yard (18 inches)
¾ yard (27 inches)
1 yard (36 inches)
For this tutorial, I am using my Cute Pumpkins Quilt Block, which I have turned into a quilted pillow. Here is how I figured out how many strips I needed.
Perimeter of Pillow + 10": 13.25(W) + 10.625(L) = 23.875 (2) = 47.75 + 10 = 57.75"
Binding Strips: 57.75” ÷ 42” = 1.375 rounded up = 2 strips.
Fabric needed: 2 strips x 2.25” (Width of Binding Strip) = 4.5”, so ¼ yards (9 inches) of purchased fabric.
Step 3: Cut Binding Strips
Iron Fabric


Bring the selvage edges together and then bring the fold to the selvage edges.


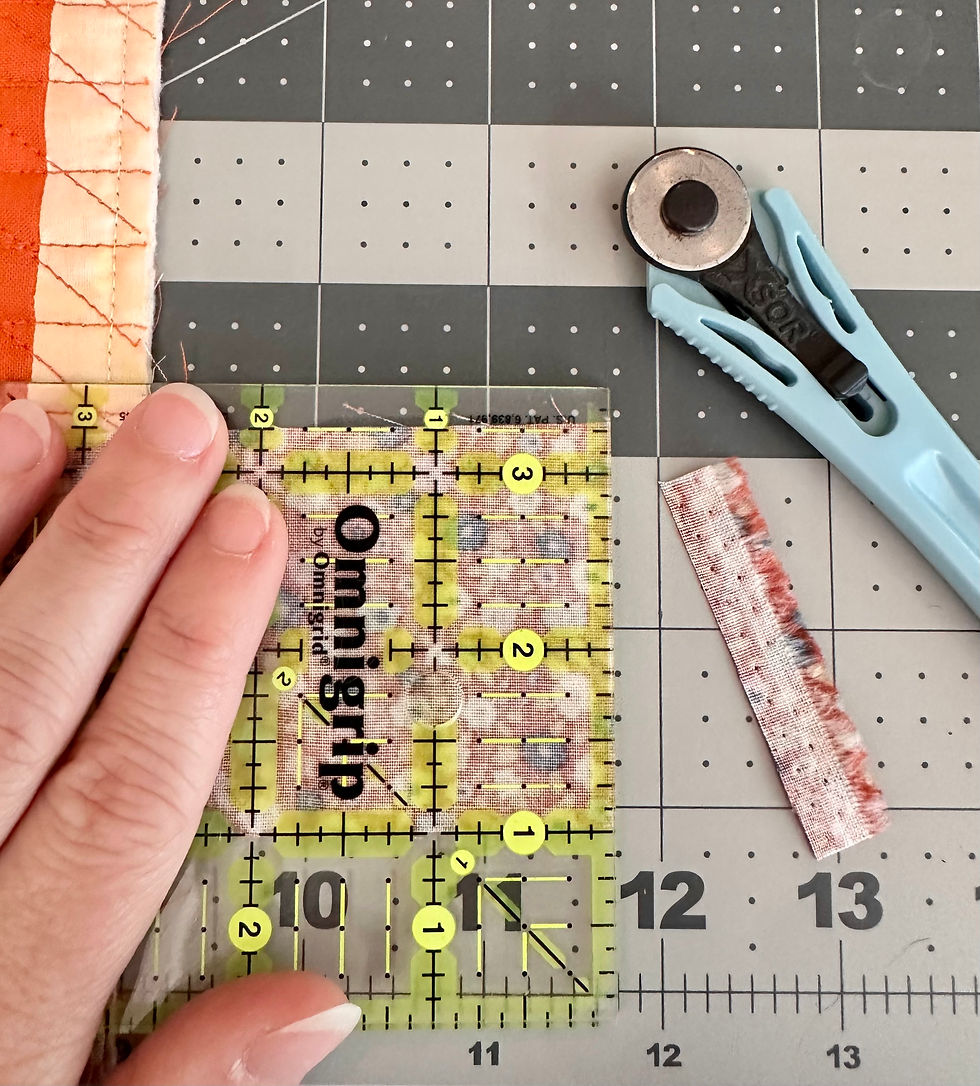
Using an acrylic ruler and rotary cutter, cut off ½” of fabric to get a straight edge by aligning your ruler’s horizontal measurement line along the fabric fold, leaving ½” of fabric extending past the ruler’s vertical edge, and cut.


Using your binding width measurement, align your ruler’s vertical measurement line to the cut edge of your fabric and cut your strip. For example, I aligned the 2¼” vertical measurement line along the cut edge and cut.


Continue this until you have all of your strips cut.

Step 4: Sew Your Strips into a Continuous Binding Strip
With the right sides together, lay one strip perpendicular to the other, with the selvage edges extending off the overlap.

Using your diagonal seam tape, sew the strips together. Here is a tutorial on how to use diagonal seam tape. If you do not want to use this method, draw a line from the top left corner down to the bottom right corner, pin the strips in place, and sew on the drawn diagonal line.

*Note: If pressing seams open, lower your stitch length to 1.8 to reinforce the seam.
After sewing the first two strips together, prepare to add the next strip as follows:
Place your last sewn strip right side up on your work surface.

Take the next strip and, with the right sides together, position it perpendicular to the previous strip, making sure the selvage edges extend slightly beyond the overlap.

Sew them together using your diagonal seam tape or on your drawn line.

Continue this until you have all of your strips are sewn together.
Step 6: Snip the Thread that Connects Your Strips.
I use my daisy thread cutter, and I love it. You can also use scissors or try this hack.


Step 5: Trim and Press Your Continuous Binding Strip
Trim ¼” away from the seam lines and trim the dog ears.

Press your seams open or to the side.


Step 6: Attach the Continuous Binding to the Quilt Top
Start at the center of one edge of your quilt top. With the right sides together, align your binding strip’s raw edge with the quilt’s raw edge. Measure 10 inches down from the start of your binding strip and pin it in place.

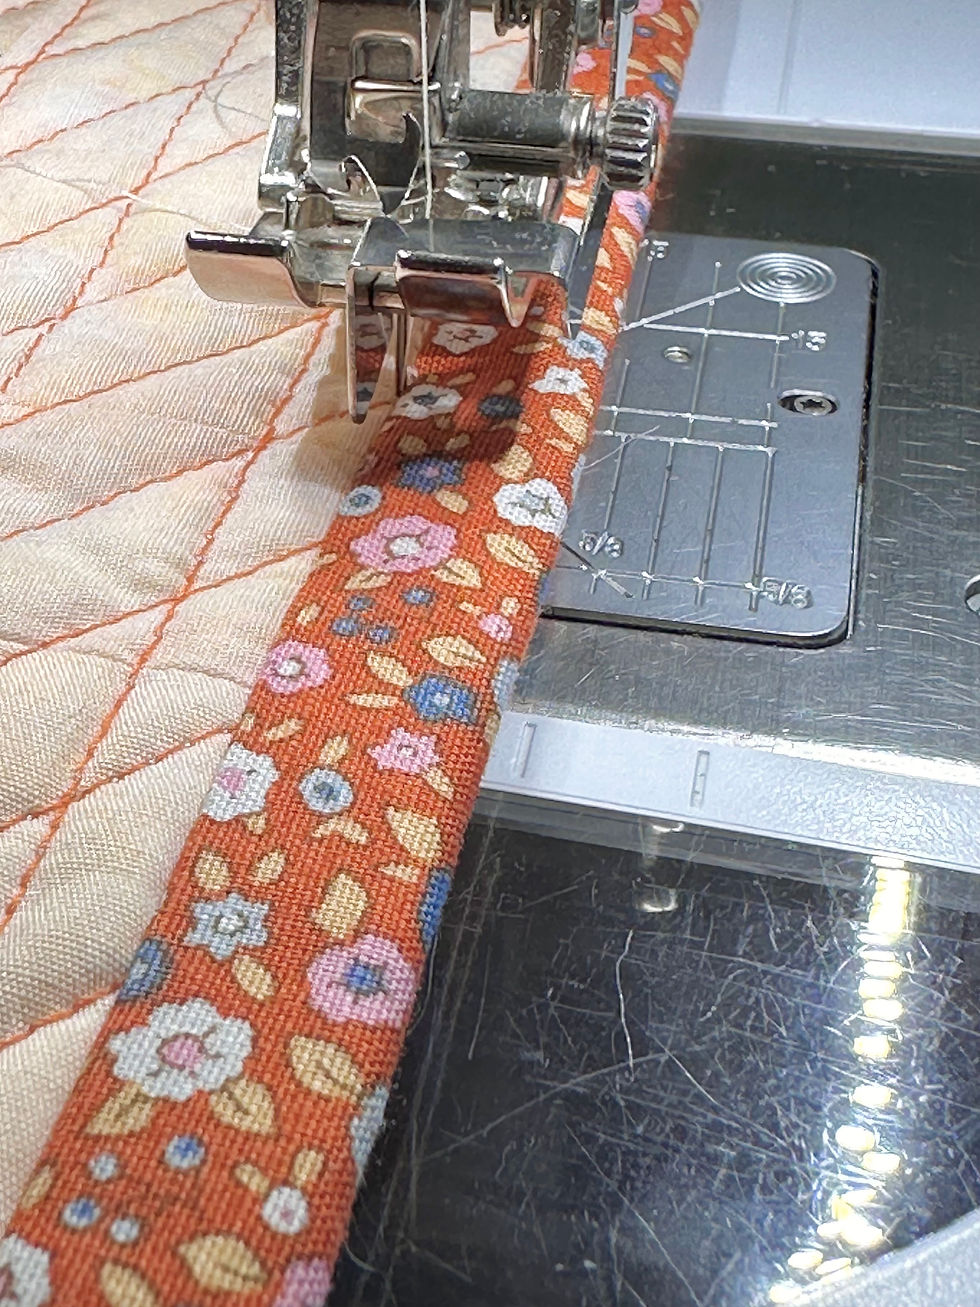
Mark your seam allowance using a ruler—I’m using ⅜ inches. Adjust your needle position to match your marked seam allowance and begin sewing from there.


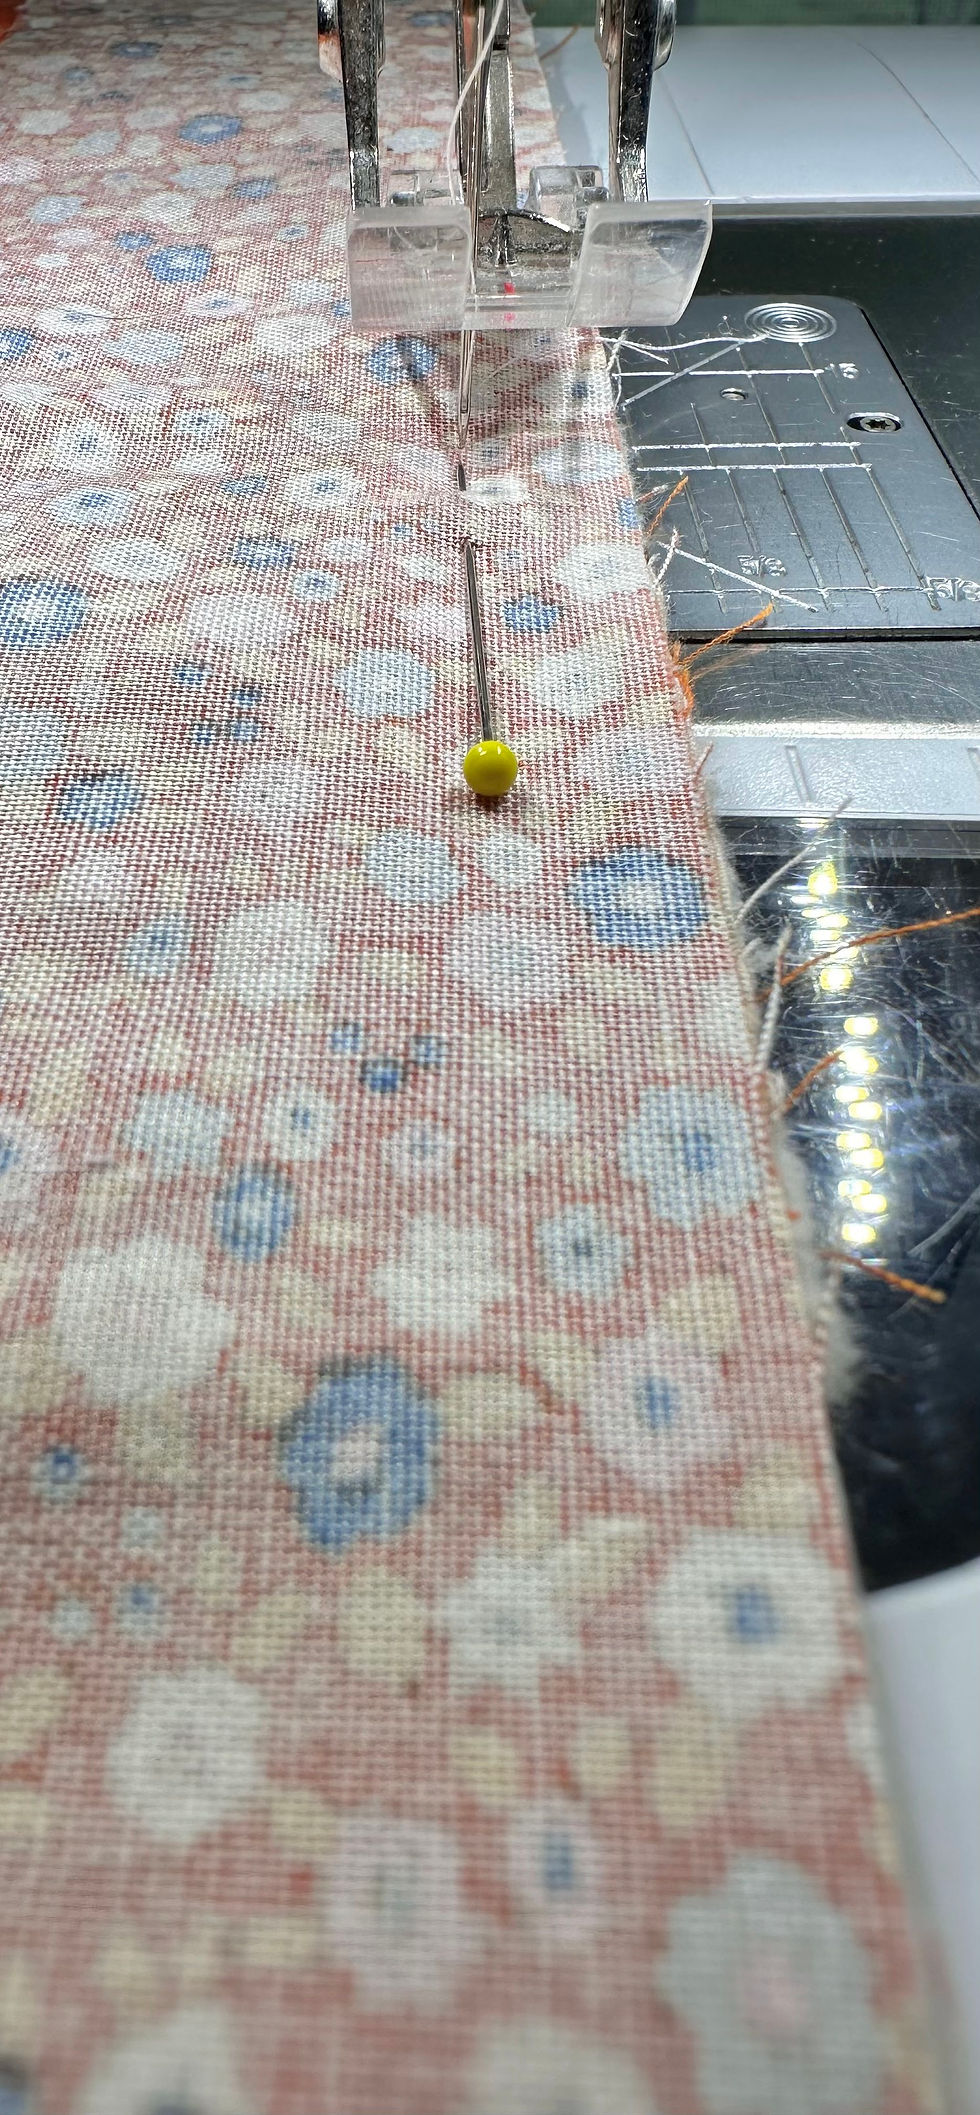
As you approach the corner, stop sewing and leave your needle down. Measure and mark your seam allowance from the bottom edge—mine is ⅜ inches, so I aligned the ⅜” horizontal measurement line with the bottom edge and marked it with a pin. Continue sewing until you reach your measurement mark, and stop.


*Note: The goal is to stop sewing before you reach the corner at a distance equal to your seam allowance—mine is ⅜ inches.
Turn your quilt slightly to the left, and sew diagonally from your needle’s stopping point to the quilt’s corner. Take a few backstitches and cut your threads.


Miter the corners by folding the binding strip upwards and to the right, creating a diagonal fold and finger-press.


Holding the diagonal fold with your index finger, bring the binding strip over, and align the raw edge with your next quilt edge.


Rotate your quilt and begin sewing at the folded edge, stitching through all the layers.


Continue sewing around your quilt, repeating steps 3–6 as you approach each corner.
After you mitered your last corner and returned to the edge of the quilt, you started with stop stitching about 5-10” past that corner. Do a few backstitches and cut your threads.

Step 5: Joining Your Binding Ends
Lay your quilt’s edge out as flat as possible, and rotary cut off the selvage edge on the left end of your binding strip.


Smooth and straighten the left binding strip end with the quilt’s raw edge.

Smooth, straighten, and overlap the right end over the left end. Fold the right end back on itself until it meets the left tail’s straight-cut end, and finger-press the fold.


Unfold the right binding tail. Starting from your finger-pressed crease, use your acrylic ruler to measure the width of your binding strip—mark the distance with a haro marker or marking pencil.
It’s hard to see, but if you look closely, you will notice the 2¼” measurement line running down the crease.

*Note: To attach the binding seamlessly, the tails must overlap at the exact size of your binding width.
With your rotary cutter and ruler, cut on your marked line.


Flip the top, binding tail so that it is right side up. With the right sides together, place the other binding end perpendicular to the flipped tail, aligning the cut edges. Pin them in the same direction you will sew them, with the pin angled from the top left corner down to the bottom right corner.

Before stitching, check your work to make sure your strips are not twisted.
By aligning the raw edges of the pinned binding with the raw edges of your quilt top. If the binding is twisted, the pieces are laid out or pinned incorrectly. Adjust and redo your work before stitching.

*Note: Clipping the quilt top together makes it easier to sew the strips together.

Sew the strips with a diagonal seam using diagonal seam tape or a marked diagonal line.

Look at that beautiful diagonal seam!


9. Trim ¼” past seam allowance and finger press the seam open or to the side.


Step 7: Finish Attaching the Binding to the Quilt Top
Align the raw end of your binding strip with your quilt edge and resume sewing from where you stopped. Continue stitching until you reach the starting point.


Stitch over the initial stitch line, secure with a backstitch, and cut your threads.

You have successfully attached your binding to your quilt top!

Step 7: Glue Baste your Binding
Working from the top of your quilt, press the binding away from the seam.


Flip your quilt over to the back.

Starting about 5” from a corner, fold 10” of the binding’s raw edge to match your quilt’s raw edge, and press with your iron.


Add about a 10” line of glue running right inside the stitch line, fold the edge over the glue, and press down with your iron.


* Note: The goal is for your fabric to be about ⅛” past your seam line.

Continue this until you come about 5” from the corner.
Miter the corner.
a. Using your fingers, take the non-glued folded edge and finger press it over the seam line, forming a 90° angle at the corner.


b. At the adjacent quilt edge, fold about 5” of the binding’s raw edge to match the raw edge of your quilt and finger press.


c. Press with your iron.


d. Fold the mitered edge (90° angle) over the seam line, aligning it with the adjacent binding edge at the point.


e. Press with your iron.


f. Apply glue to the inside of the seam and a little dot at the point where the 90° angle meets the adjacent binding edge.


g. Finger press, then press with iron.


Repeat steps 3-6 until all the binding is basted down and each corner is mitered.
Step 8: Stitch Down the Binding from the Quilt Top
Start at the center of one edge of your quilt top and use a stitch-in-the-ditch foot, or position your needle to run in the ditch along your binding edge, pull up your bobbin thread, and start stitching.


*Note: The goal is for the stitching to be hidden from the top of your quilt and catch the edge of the binding on the back of your quilt.

Stitch all the way to the corner, and with the needle down, rotate your quilt 90° and resume stitching.


Repeat steps 1-2 until you reach your starting stitches. Stitch over your beginning stitches, pull up your bobbin thread, and trim threads.
*Note: Leave your threads tails long enough to bury. Here is a tutorial on Burying Threads.
*Note: There are times when I’ve not caught the binding edge with my stitching. If that happens to you, work from the back of the quilt.

*Note: I apologize—I completely forgot to photo this step. Contact me if you have any confusion, and I will help. I will update with pictures when this happens again. But hopefully, it will not happen!😊
From the back of your quilt, start at the point on the binding right before the stitch line goes off.
Bring up the bobbin and lower the stitch length to 0.50. Take a few forward stitches and then backstitch to secure the threads and the stitch for about ½”.
Increase the stitch length to 2.5 or your preferred length, and start sewing.
Continue sewing the binding down until you reach the point where the stitch line is back on the binding. Stitch a little over the stitches. Lower the stitch length to 0.50, and take a few forward stitches, then backstitch to secure the threads.
Bring up your bobbin thread and cut or bury your thread tails to finish.
Or you can hand stitch the section down.
Voilà! Your binding is all stitched down!!
I hope you enjoyed this tutorial. And I hope it helps you with your single-fold binding. If you have any questions, don’t hesitate to reach out.
Happy Quilting,
❤️—Amber Foret


Comments